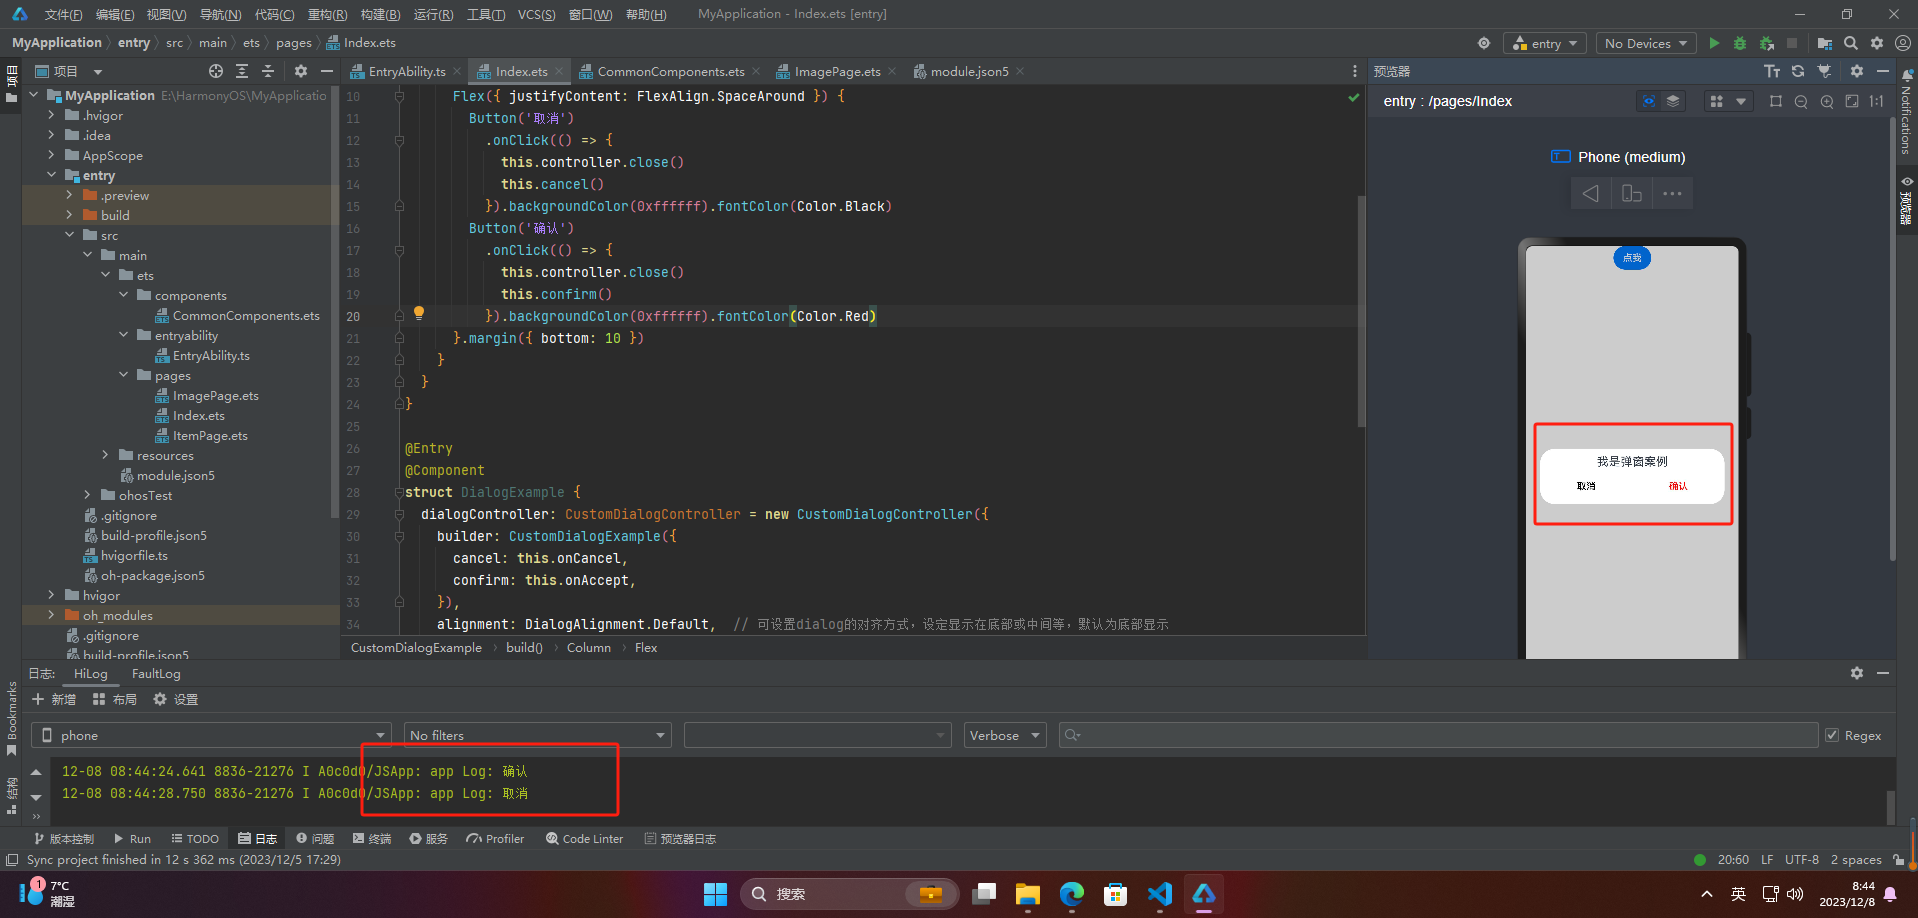
HarmonyOSのUIフレームワークArkUIでは、CustomDialog機能を活用して柔軟なモーダル表示を実装できます。以下はダイアログ起動ボタンの基本実装例です。
Button('モーダル表示')
  .onClick(() => {
    this.modalManager.show()
  })
  .width('100%')
.Padding({ top: 20 })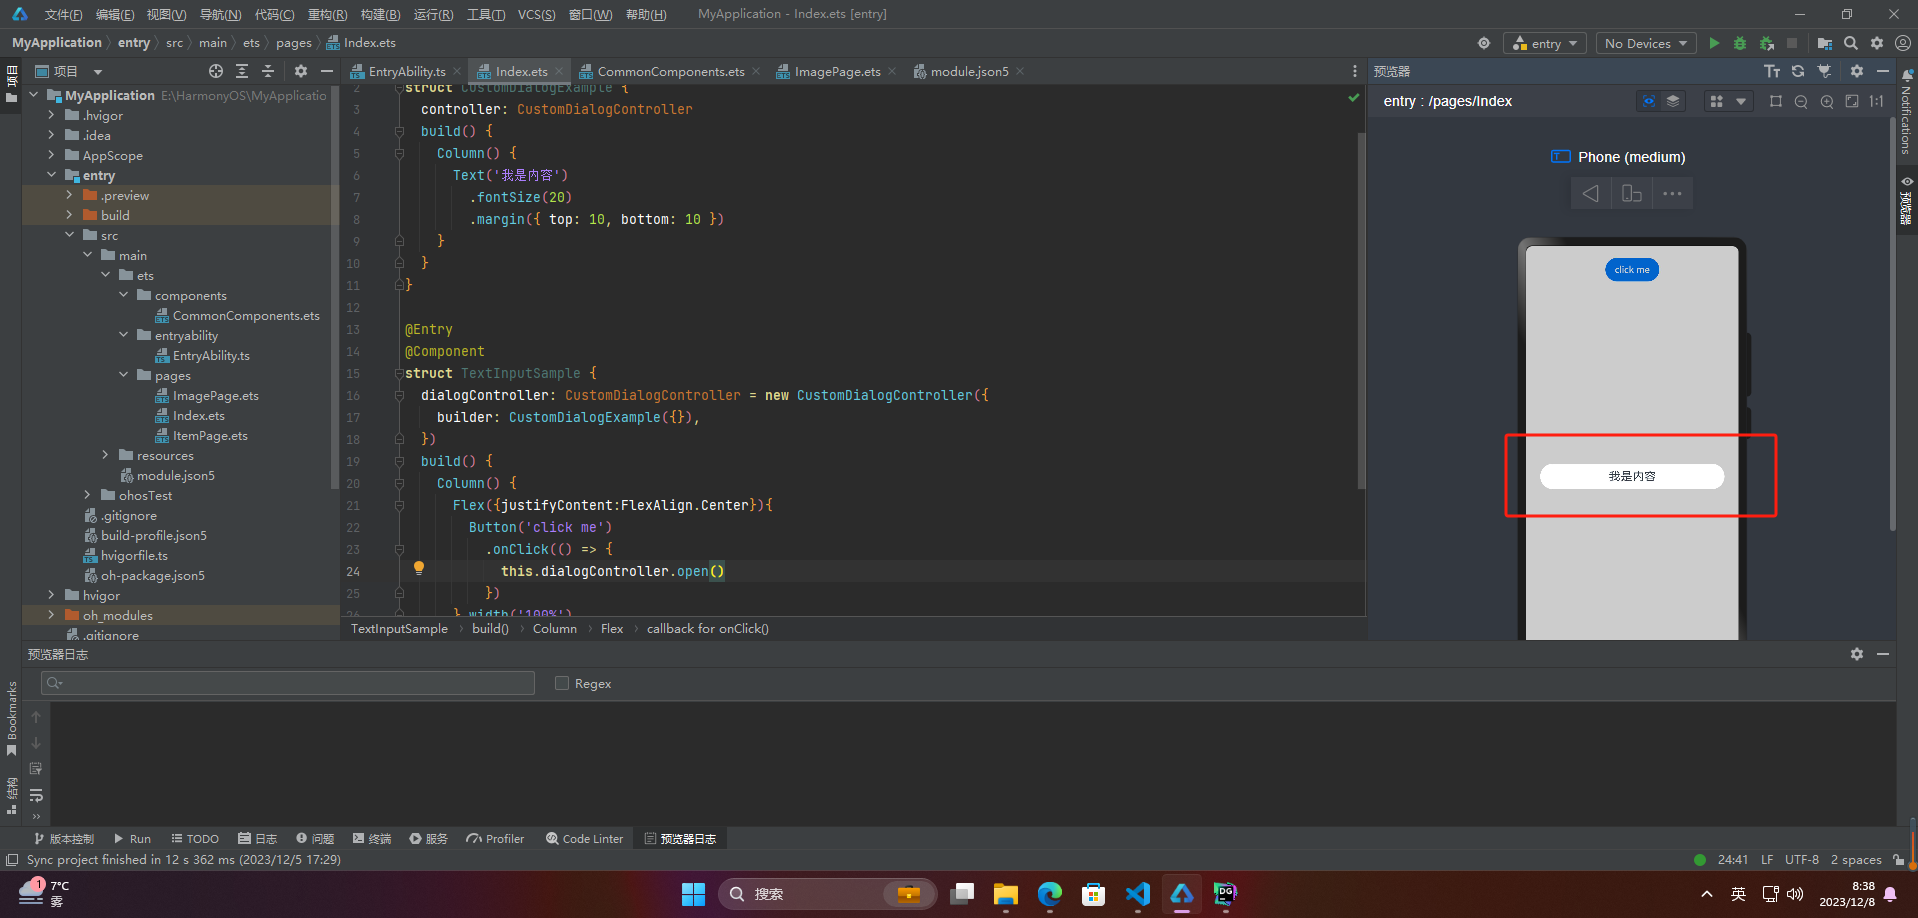
メインビューとモーダル間の双方向通信を実現するには、コールバック関数と状態管理の連携が重要です。ユーザー操作に応じて即時レスポンスを返し、ビジネスロジックを分離することで、保守性の高いコード構造を構築できます。
@CustomDialog
struct ModalHandler {
  manager: CustomDialogController
  dismissAction: () => void
  submitAction: () => void

  build() {
    Column() {
      Text('操作パネル').fontSize(20).margin({ top: 15, bottom: 15 })

      Flex({ justifyContent: FlexAlign.SpaceEvenly }) {
        Button('中止')
          .onClick(() => {
            this.manager.close()
            this.dismissAction()
          })
          .backgroundColor('#FFFFFF')
          .fontColor(Color.Blue)

        Button('実行')
          .onClick(() => {
            this.manager.close()
            this.submitAction()
          })
          .backgroundColor('#FFFFFF')
          .fontColor(Color.Orange)
      }.margin({ bottom: 12 })
    }
    .width('90%')
    .padding(10)
  }
}

@Entry
@Component
struct MainView {
  modalManager: CustomDialogController = new CustomDialogController({
    builder: ModalHandler({
      dismissAction: this.handleCancel,
      submitAction: this.handleConfirm
    }),
    alignment: DialogAlignment.Center
  })

  handleCancel() {
    console.debug('中止処理がトリガーされました')
  }

  handleConfirm() {
    console.debug('確定処理が実行されました')
  }

  build() {
    Column() {
      Button('操作実行')
        .onClick(() => {
          this.modalManager.show()
        })
        .width('85%')
    }
    .justifyContent(FlexAlign.Center)
    .height('100%')
  }
}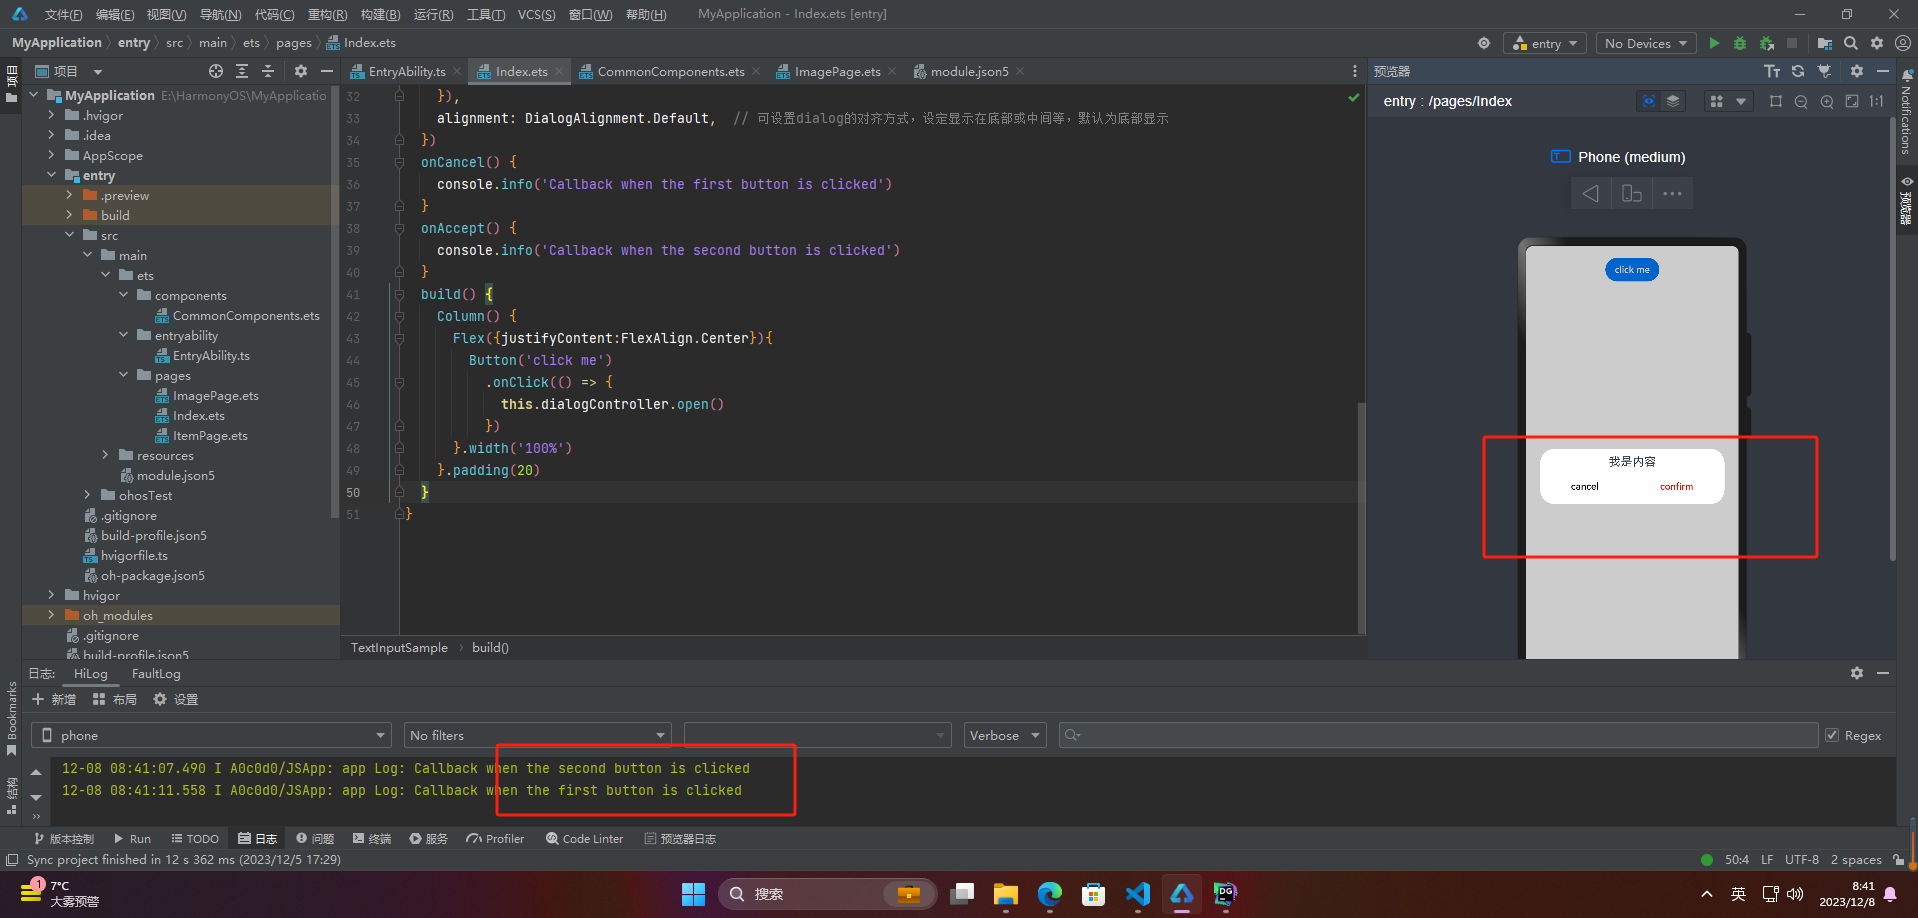
実際の業務シーンでは、入力値のバリデーションや非同期処理との連携が求められます。以下はデータ永続化を伴う応用例です。
@CustomDialog
struct DataModal {
  controller: CustomDialogController
  onDiscard: () => void
  onSave: (data: string) => void
  inputText: string = ''

  build() {
    Column() {
      TextInput()
        .placeholder('テキスト入力')
        .onChange((value: string) => {
          this.inputText = value
        })
        .width('90%')

      Flex({ justifyContent: FlexAlign.End }) {
        Button('破棄')
          .onClick(() => {
            this.controller.close()
            this.onDiscard()
          })
        Button('保存')
          .onClick(() => {
            this.controller.close()
            this.onSave(this.inputText)
          })
          .margin({ left: 10 })
      }.width('90%').margin({ top: 15 })
    }
  }
}